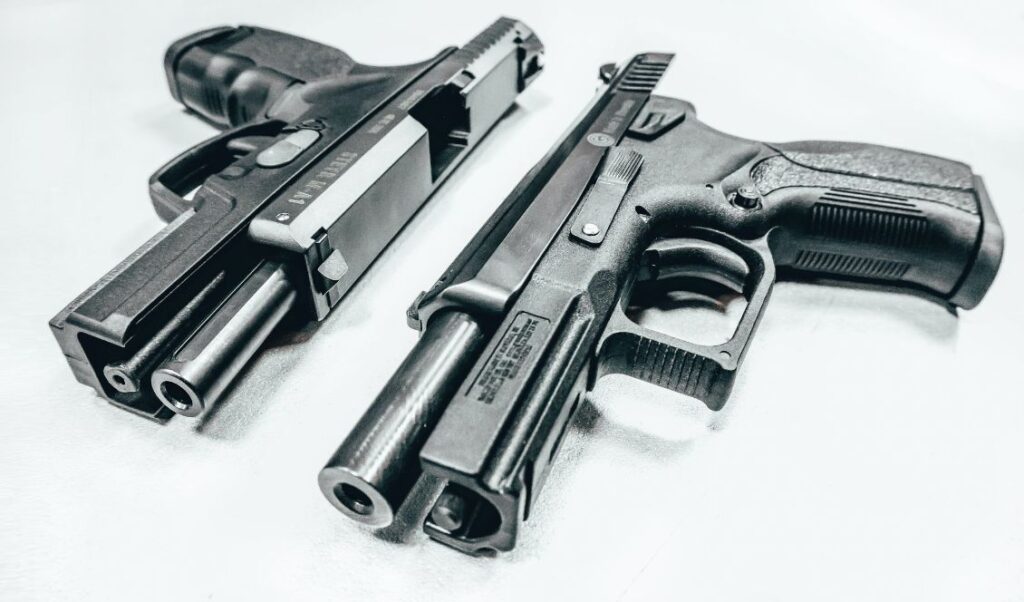
Safety is the most important guideline when owning a firearm. Before beginning any disassembly work, you should make sure that any firearm is securely unloaded and cleared. A dirty gun poses a safety risk because of the gunk buildup. Components that are corroded and rusted can jam and malfunction, impairing your aim and even resulting in explosions. Please continue reading for more information if you’re curious about how to clean a gun.
Good Preparation Is Key
Select a spot that is clean and has enough room for you to work before you begin cleaning your gun. To prevent errors or negative effects from the cleaning chemicals, the area needs to be well-lit and ventilated.
Gun enthusiasts who regularly clean their weapons know that the best workspaces are outside or in the garage. If you must clean your gun indoors, do so close to an open window. Utilize a stable, uncluttered table.
Don’t use the kitchen counter, the dining room table, or any other area where people typically consume food or beverages. Oils, solvents, and lead or carbon fouling are some of the cleaning supplies for guns that can contaminate nearby food.
Further preparation advice from the pros is to take all live ammunition out of the room or area where the cleaning will be done. Empty all ammunition magazines, then store them in a safe or another location until the cleaning is complete.
This will eliminate any chance of accidentally handling or putting live ammunition in a firearm by ensuring that all other live ammunition, even if it is boxed, is removed from the room or cleaning area.
Consult The Manual
Do you regularly discard the owner’s manuals that come with new electronics and appliances? For your dishwasher or refrigerator, this might be acceptable, but make sure you not only keep your gun owner’s manual but that you read it completely as well.
The writing of the information in the owner’s manual has been done with great care and attention to detail. Understanding it and adhering to the recommended procedures will help you have a safe and satisfying experience while owning the firearm.
The owner’s manual from the gun’s manufacturer will detail how to disassemble and clean it safely. To ensure that you disassemble and reassemble your gun correctly, the majority of manuals include colored diagrams and in-depth pictures.
Essential Gun Cleaning Supplies
You will need to purchase some basic supplies before you start if you are new to using firearms or have never cleaned your gun at home. Starting with a gun cleaning kit that includes all the supplies you require may be a practical and economical option.
A good gun cleaning supply kit should typically include:
- Hoppe’s No. 1 solvent, for instance, 9
- Lubricants, such as ALG Defense or BreakFree CLP-2 Cleaner
- A dry rag or cloth
- Swabbing patches
- Cleaning rods or patch pullers
- A boring brush that fits your barrel
- An old toothbrush
- Cotton swabs
- A pair of latex or nitrile gloves
Steps To Clean A Gun
Step 1: Disassemble The Gun
To avoid getting any chemicals or toxins on your skin, we advise putting on a pair of latex or nitrile gloves before you begin working. Lead exposure when using a firearm is a concern, so you need to make sure you’re taking all reasonable steps to reduce it.
Check to make sure your gun is unloaded after putting on your gloves. Once again make sure your gun is unloaded. Before starting the disassembly process, make sure to check the chamber and magazine to make sure they are empty.
Step 2: Clean The Barrel
The barrel is arguably the most crucial part to take into account when cleaning a handgun. If your barrel is clogged with debris or dirty, it might be difficult to move, which would impair accuracy and increase the likelihood of serious accidents.
Therefore, it is crucial that you pay your barrel a little extra attention.
To clean, dab some solvent on your bore brush (or use a patch wrapped around a rod or patch puller) and run it through the barrel in one direction, leaving the solvent in the barrel. To prevent reintroducing dirt or buildup into the barrel, try not to pull the dirty patch or brush backward.
As you clean the rest of your gun, the solvent can now work inside the barrel.
Step 3: Get Rid Of Debris
It’s a good idea to use a mechanic’s rag, a microfiber cloth, and a cotton swab to remove surface dust from all the nooks, crannies, and crevices of the firearm before using any solvent.
The spring and any other small components should be given special attention, and any surface grit should be removed using an old toothbrush or a dry brush. Your cleaners won’t have to work as hard since the loose fouling will be eliminated.

The fouling in your firearm probably won’t all be removed by a dry rub-down. Spray some solvent onto a cotton swab and give the area some extra attention if you see any significant, stubborn residue.
Some people also discover that cleaning out the springs and other small compartments of any clogged dirt and debris with compressed air works well. Just be cautious and keep the pressure low.
Step 4: Lubricate The Gun
The application of the lubricant is the last step before reassembly. An oily substance known as lubricant aids in the proper and low-friction operation of the components inside your firearm.
Without oil, the components of your gun will rub against one another and wear out. It is therefore crucial to regularly lubricate your guns in order to protect both your expensive investment and your safety.
The secret to effective gun lubrication is moderation. Never over-oil a firearm because doing so can damage its parts and performance just as much as using a weapon that is completely bone dry. Also, extra oil can drip into your holster and make the handle slick.
Additionally, avoid lubricating your gun directly. Use a cotton swab or a dry rag to apply it to the slide rails, recoil spring, barrel, and any other shiny crevices and nooks.
You can now go back to the barrel and complete cleaning it.
Step 5: Reassemble Your Gun
The pieces can be put back together once you’re certain your weapon is clean and completely dry. After putting it back together, test your unloaded firearm a few times to make sure you didn’t knock anything out of place while cleaning.
Run a dry fire to test the system and make sure everything works as it should. Before putting your gun away, you can give it one last wipe-down with a microfiber cloth to make sure no cleaning supplies are still on it.
Step 6: Store It Properly
Never undervalue the significance of safe firearm storage. Where you store your gun is just as crucial to maintaining its cleanliness, safety, and maintenance as cleaning it is. Make sure the gun case you select is appropriate for the gun’s size and design.
In other words, keep your pistol in a pistol case and your rifle in a rifle case. The right case can keep your firearm from getting dirty, rusty, or damaged while you’re traveling, so taking your time choosing one can pay off in the long run. Look for a case with the qualities listed below:
- Foam on the inside, hard on the outside. The best gun cases have interior foam cradling your firearms in a layer of protection, preventing any damage or scratching. Both during storage and during transportation, this aspect of gun storage is crucial. It works well in harsh environments because the exterior’s hardness protects your guns from impact and weather.
- Watertight. Moisture and metal do not mix, as you are probably aware. It’s critical to completely dry your firearm before storing it to avoid rusting. Maintaining your gun will be much easier if you keep it in a completely watertight case that keeps moisture out.
- Pressure equalized. Because it allows air to enter while keeping out water, dirt, and dust, an automatic pressure equalizing valve is a crucial component. Your gun remains safe from other harmful particles while remaining dry thanks to the air molecules.
- Crushproof. A crush-proof gun case can help protect your firearm from damage if you intend to travel with it, whether you’re just taking it to the range or checking it in as luggage on your next flight.
Conclusions
A quick 10-minute task can extend the life of your firearm while also improving its performance and safety. More than just a nice appearance is involved in gun cleaning. A clean gun is also a safe gun and reliable gun.
Regular gun maintenance maintains the functionality and aesthetic value of your investment while ensuring accuracy, dependability, comfort, and confidence level when using the weapon, and all of the above.

