We cover everything you need to know about charcoal in this in-depth guide, including how to make it at home.
Charcoal is one of the best fuels to fire up your grill. Charcoal is simple to use, doesn’t produce a lot of smoke, and burns consistently. There are many different kinds of charcoal available, and if you’re an experienced pitmaster, you’ve probably tried many of them and experienced them firsthand. You may even have a favorite by now.
But have you ever considered making your own charcoal at home? If you haven’t, it’s a great way to enjoy some of the most natural BBQ fuel available and have some fun at the same time. Making charcoal is a fairly simple process that only needs a little equipment and some time.
How to Make Charcoal at Home?
Here’s a six-step breakdown on how to completely DIY your grilling experience:
Gather Your Materials
Charcoal can be made from any type of wood, and other organic matter, such as:
- coconut shells
- ground nut shells
- dry leaves
It is best to use real wood (typically hardwoods) to make lump charcoal.
Hardwoods, such as hickory, oak, and beech, tend to burn hotter. As a result, you might want to look for lump charcoal varieties made from these kinds of wood if you’re looking for some.
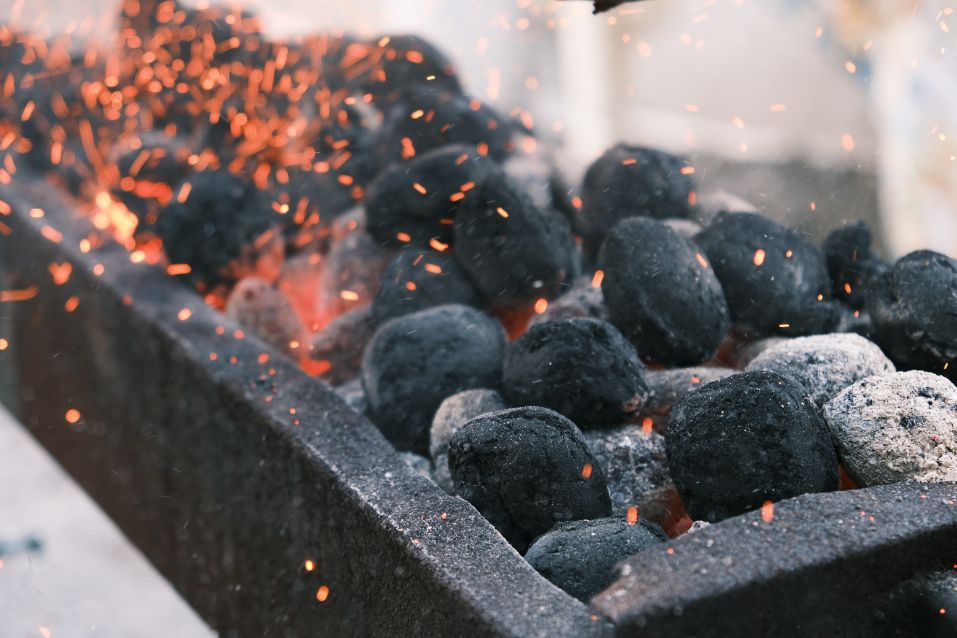
To make charcoal dust, which is then pressed into charcoal briquettes for burning, sawdust, and fine organic matter can be used. Briquettes are more likely to contain a variety of woods and are usually produced from timber offcuts, including tree bark of both hard and softwoods at the lower ends of the price scale.
You’ll also need a metal barrel with a lid (this is where you’ll burn your wood) and a source of kindling, such as twigs or scrunched-up pieces of newspaper.
Ensure you’ve got heat and fire protection equipment nearby. This includes a high-quality pair of heat-resistant gloves, a fire poker, and a bucket of water, just in case any accidents occur.
Find a Flat Open Space and Dig a Pit
The next step is to find a flat open space that you can use as a fire pit. Once you’ve located a space, dig a hole approximately 3 feet deep and wide enough so that your barrel fits into the hole. Once you’ve dug the pit, place the barrel inside.
Prepare Your Wood and Light the Fire
Fill the bottom of your barrel with your kindling, a few small pieces of the hardwood you’ve chosen, and any other organic materials you want to use. Light your fire and use your poker to stoke the flames until your fire is well-lit.
Once the fire has a strong, intense flame, you can start adding other pieces of hardwood. Layer the hardwood, so the fire spreads to each layer of wood. Finish the process by adding the rest of the hardwood at the top of the barrel.
Ensure the flames of the fire are reaching every layer of hardwood, and after a while, you should start to see the wood starting to smolder and blacken.
Limit the Oxygen Supply to Your Fire
Once the hardwood is burning, cut off the oxygen supply to the fire. You can do this by placing the lid of the barrel onto the barrel.
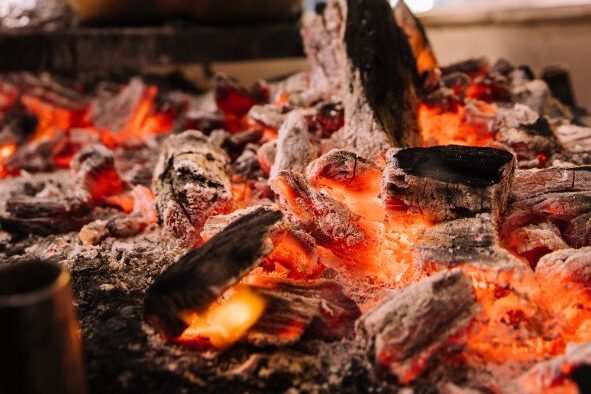
Leave the wood to smoke in the barrel for around 24-48 hours. After this amount of time, remove the lid to see if the wood has become charcoal. The barrel should have cooled significantly, and the fire and any embers should have burnt out.
If the fire is still burning or hot embers are still present, leave the wood in the barrel for another 24 hours and recheck your barrel the next day.
Remove Your Charcoal from the Barrel
You can remove the charcoal chunks from the barrel once it has burned out. If you want to store your charcoal, place the charcoal pieces in a coal store or charcoal bin for further use.
Repeat the Process and Clean the Barrel
To build your supply of charcoal, you can repeat these steps as much as you like. You can use different types of hardwood to try out varying kinds of charcoal. This is a good option if you want to give your grilled meat new and subtle flavors.
If you don’t plan to make more charcoal, remove the barrel from the pit and fill the pit with earth to prevent accidents. If the ground is still hot to the touch, take your bucket of water and flood the pit to make sure any remaining embers are put out.
After you’ve finished using the barrel, clean it out. If you’ve got a wire brush, you can clean out any excess ash; after this, take a bucket of water and rinse your barrel. To prevent rusting, let the interior of the barrel dry completely. Doing this ensures the barrel is nice and clean, and well-maintained for the next time you need to use it.
After you’ve done this, you’ve successfully learned how to make charcoal at home. If you find this process to be too time-consuming, save the homemade charcoal for a few times a year. In the fall, when it’s cooler outside and wood is simpler to gather, you might find it’s best to make your own charcoal.
How to Store Your Charcoal Properly?
Storage is the very last and most important step in the charcoal-making process. In order to keep your storage area as dry as possible, make sure it is free of dew or moisture. Water doesn’t necessarily harm the charcoal, but keeping it dry increases the likelihood that it will relight.
Make sure your charcoal pit is adequately covered if you intend to use it again to prevent a fall. Or make it a booby trap for those bothersome intruders.
Fill your pot with dirt or water if you’re moving around to prevent any stray smolders from accidentally starting a fire.
Further Reading: Can You Reuse Charcoal? 7 Easy Tips
Why Should You Make Charcoal?
Knowing how to make this dirty black nugget might just be your saving grace post-SHTF for the following reasons:
- Easily light, maintain, or transport fire
Charcoal is excellent at both heating and cooking. It is simple to light, and only a small amount of fire is required. The charcoal is simple to maintain and transport once it is lit. Even after the flame is extinguished, it continues for hours.
- Useful for camouflaging
Charcoal is a great option to keep you out of sight when you need to remain hidden in a survival situation. Because our brains are wired to recognize faces in everything, smearing charcoal on your face will help you blend in.
- Mask unwanted smells
Have you ever wondered why there is a block of coal in your refrigerator? Its purpose is to absorb the unpleasant refrigerator odor. In a survival situation, you can use charcoal to conceal your scent when hunting or dodging enemies because it is a great odor absorber.
- Does anyone with a writing device?
Take out the charcoal if you don’t have a pen or pencil! If you ever become separated from your group while running, leaving markers will be a big help. Any skilled eye will notice the dark charcoal color.
- It can become valuable trading material
Things like coffee and cigarettes become valuable and tradeable when SHTF. Who claims that charcoal won’t remain the same? With the things we’ve mentioned above, we believe it to be very likely.
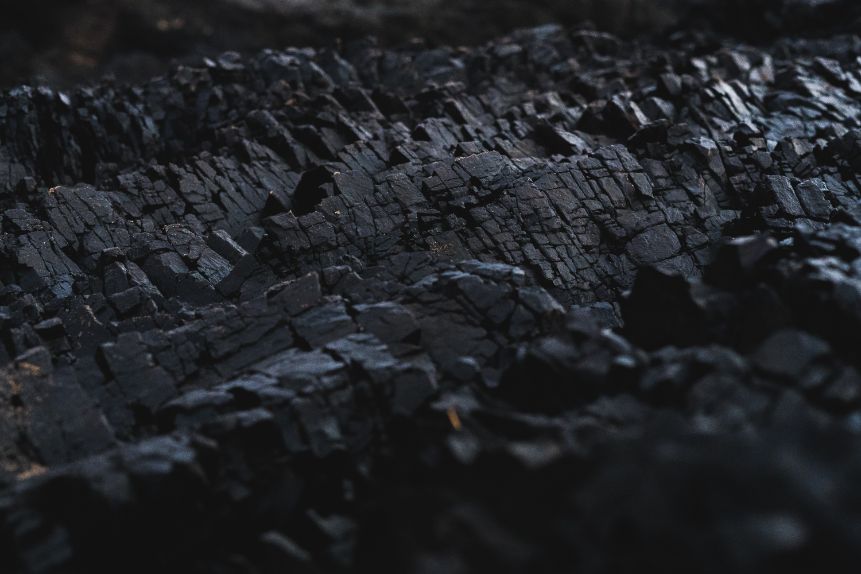
Conclusion: Make Your Own Charcoal
Learning to make charcoal will take some time, but once you get the hang of it, it becomes much simpler.
Homemade charcoal is an excellent option if you’re looking for a cost-effective, quality solution for your BBQing needs. The great thing about homemade charcoal is the process is repeatable. This means you can continuously refill your charcoal supply as needed.
FAQs
How Long Does Charcoal Last?
Everything depends on the grill you’re using, your airflow, and how you manage the fire in general. Smaller lump charcoal has an average burn time of about four to six hours, while charcoal briquettes typically last eight to ten hours.
There is no expiration date for charcoal, contrary to popular belief. Charcoal lasts for a very long time. However, keep in mind that over time, any chemicals or additives that were added to your charcoal may wear off, making it more difficult to ignite.
How is Charcoal Made Traditionally?
Charcoal is created, in its most basic form, by burning wood or other organic materials in an atmosphere with little oxygen. By removing water and other volatile substances, the finished charcoal can burn at high temperatures with little smoke.
Why is There So Much Dust Left After Burning Charcoal?
Charcoal decomposes during combustion. You will end up with a lot of black dust after burning your charcoal because of its brittle nature and the fact that water was completely removed from the wood during its creation.
Make sure to check that the airflow between the lumps of charcoal is not obstructed if there is a lot of charcoal dust gathering in your grill. Uses can be found for leftover charcoal dust. It might be used to produce homemade charcoal briquettes. To aid in the growth of your plants, you could also sprinkle the dust of natural charcoal over the soil in your garden.

